bathroom etiketine sahip kayıtlar gösteriliyor. Tüm kayıtları göster

2 Temmuz 2019 Salı

Paint Projects Around the House

Paint Projects Around the House

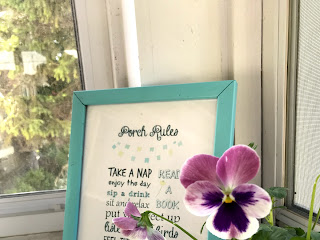
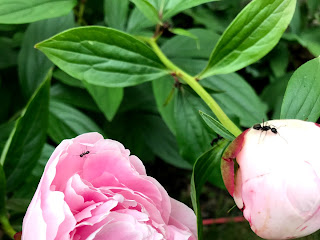
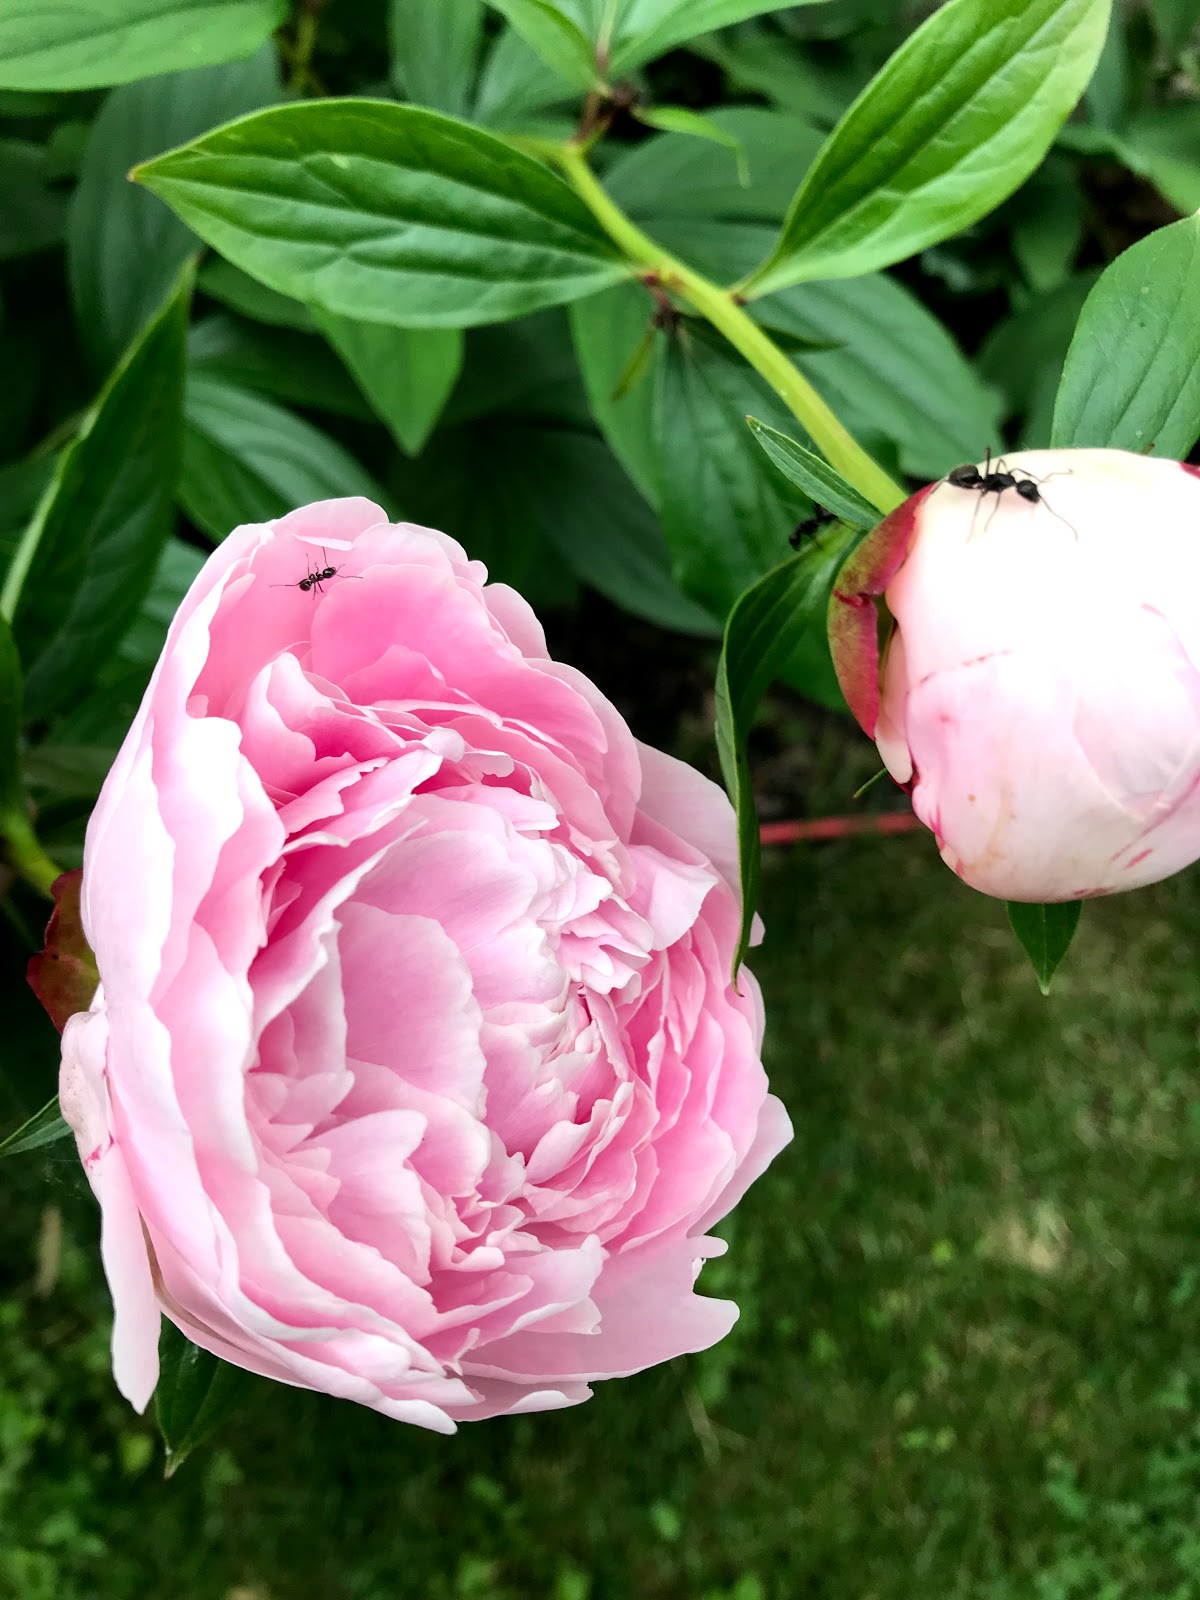
This was the first year this peony bloomed! I think I need more of the variety! 


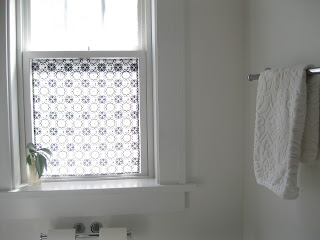
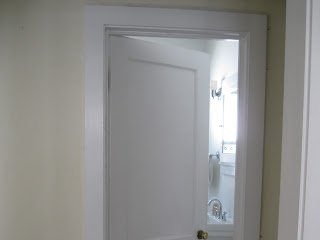
 I thought you might like to see a couple of pictures of the freshly painted bathroom! Ah! Fresh paint always feels so nice!


I ordered a bent "Radiator Brush" from Wooster Paintbrushes. The minute I saw it on amazon, I knew I needed one! So far, I have only used it for painting the front of a radiator, so not sure it if really helps reaching behind and getting all the nooks and crannies. But it sure is cool!

Besides painting the radiator in the above picture, I have also been working on two more radiator that will be installed this fall. So far, I have them scraped and primed. 

It is amazing what details they put on these old beauties!

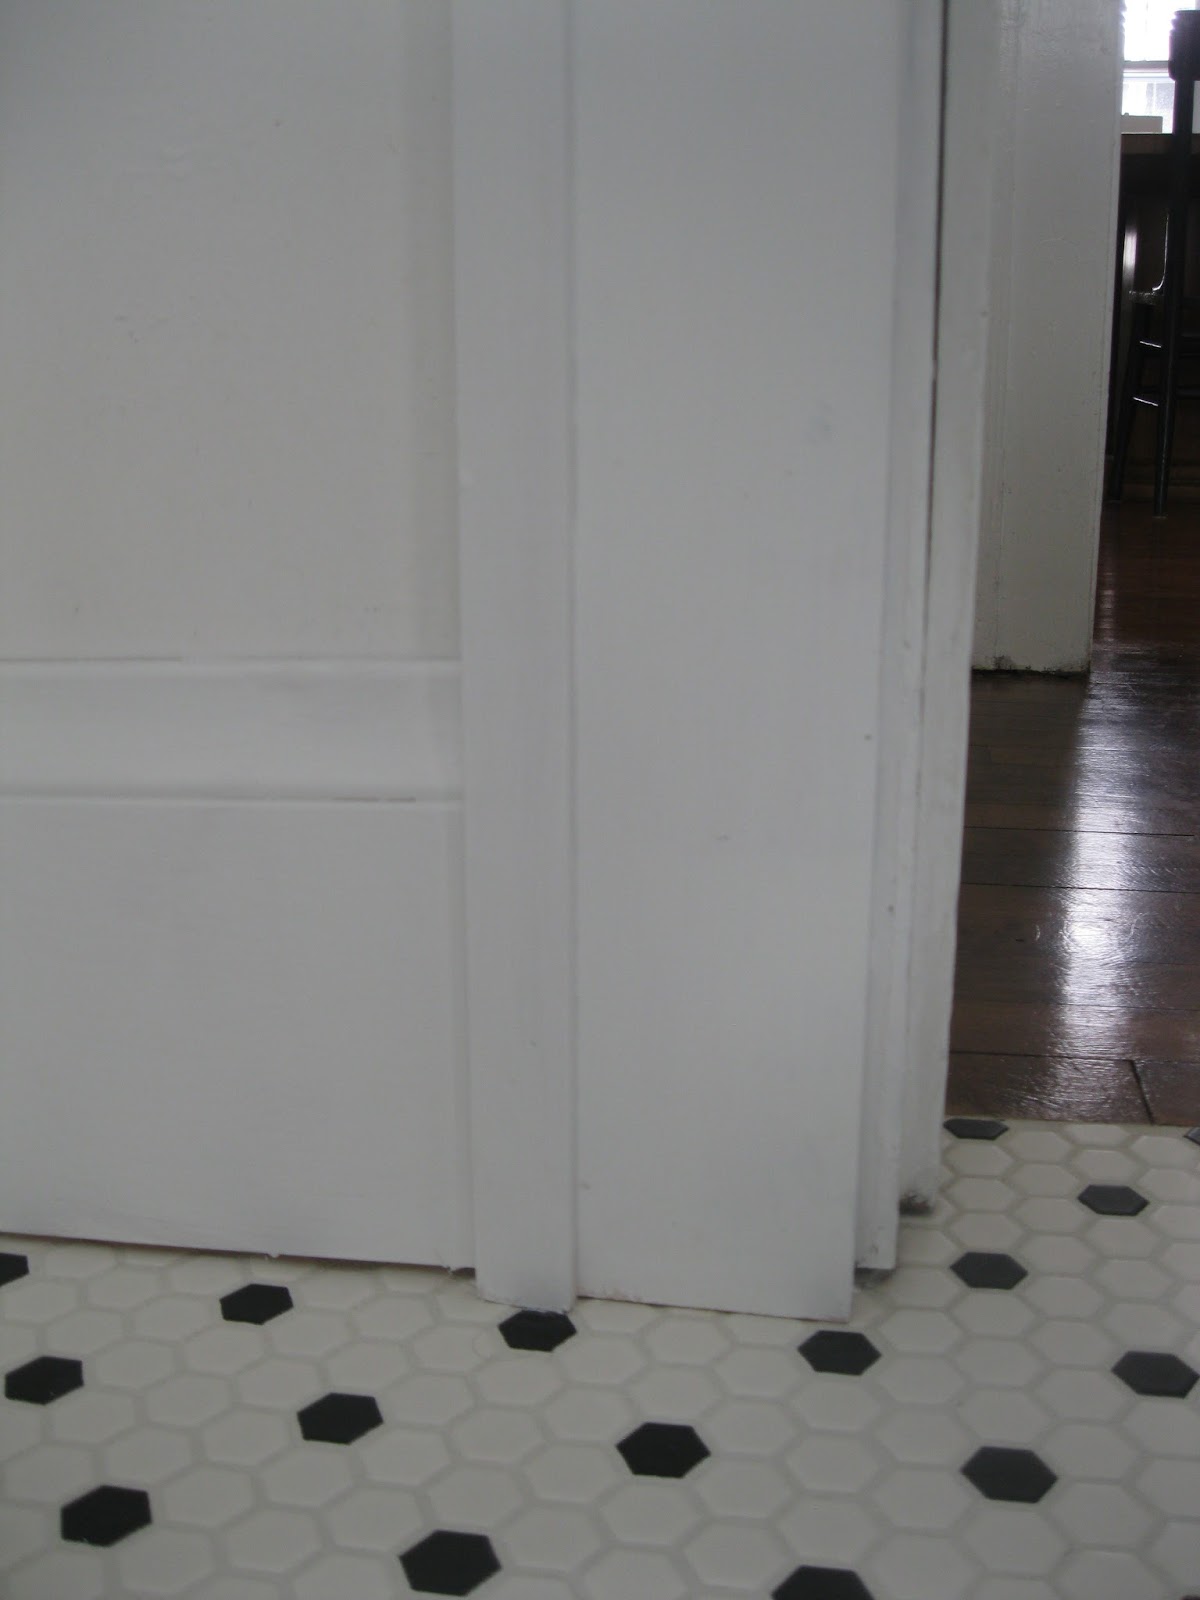
I think I mentioned before that I painted the back entry/stairs the same time I painted the bathroom. This space gets a lot of traffic, so I decided the steps also needed a paint re-fresh. It is hard to find a time when I know the ins and outs will be at a minimum! So far I have only been able to paint the blue. Since the squares are all ready there, I just used a craft brush to re-paint the squares and border. I still love this feature!

 Also getting a coat of paint is this little table I picked up at a garage sale! It was covered in silver spray paint when I got it. This is just after I finished washing it down with hose. All the old paint just came right off!

That is when I discovered the "wicker" wrapped around the legs wasn't actually wicker! The wooden legs were turned on a lathe to look like ridges of wicker. Isn't that cool? I am thinking it must be 1900-1920s, with possibly a replaced table top.

Isn't it sweet? I am so excited to have discovered this little gem. I was going to buy another small table from Ikea for the porch, but this one is much better! 

 I had to sneak in a few summer flower pictures too! The baskets on the fence are so lovely this year with geraniums.

 And Kerri enjoying a little porch time with us!

 It is almost hydrangea season!

Last week marked the one year anniversary of the Brick House! Gosh! I can't believe it has already been a year!

12 Haziran 2019 Çarşamba

Summer Flowers, Painting and Porch updates

Summer Flowers, Painting and Porch updates

Ah! Summer is here in full swing! The porch is almost tree house like with all the leafy green trees surrounding it. I have been doing a little fluffing and sprucing to the porch. We changed the pillow covers to our usual summer covers and have added one or two other things.


I suddenly remembered I had a basic wooden stool in the basement and decided it would make a great plant stand behind the settee. Then Mandy found a (slightly squashed) fern on sale to perch on top. Perfect!

We have had pansies on the porch this spring. This one is lovely! 

 I forgot I wanted a new doormat to spruce up the porch, until I saw this one at Hobby Lobby! Mandy managed to get Kerri to "pose" for us. I love all the colors!


 Summer also means gardening around here. This year we have larger hanging baskets on our fence hooks. The tin buckets, while very cute, looked a little lost on the fence. We are loving the bright geraniums!


We also got our patio pots planted! (Say that seven times fast!) Can't wait to see what they will look like all filled out!

Summer is all about projects too, right? So last Friday I decided it was time to get re-painting the bathroom checked off the list!

 One of the perks of having a small bathroom is it is quick to paint! I managed to paint the bathroom and back hall (they were both the same color) in a little under three hours. Made a nice start to the weekend! (I don't often get a bird's-eye-view of the bathroom. The ladder was half in the bathtub for cutting in around the ceiling!)

I didn't get any spiffy "after" pictures. And it doesn't really look any different as I used the same color paint. It just feels a lot fresher and clean with a new coat of paint. Six years of wear and tear in a bathroom was starting to show on the walls! 

Saturday was filled with a bunch of projects outdoors! All of which I will share more details later. Mandy built a potting bench, which is super cute! I cleaned out the garage, which inspired Mandy as I found a bunch of lumber. The Great Radiator Project has also started. In the left corner of the picture above you can see a radiator I am scraping. There are two I need to scrap and re-paint. The others just need a touch up coat of paint. I am also working on patching the cold air returns in the cottage, which is why there are old floor boards there! I was cleaning and stripping the finish on the boards.
It took a bit for me to adjust to not having the Brick House to work on! Still in process, but I am getting into re-focusing on projects around the cottage. The biggest one this year is to get the whole house fitted with radiators. There are a lot of steps that project and hopefully we can get most of them done this summer!

I dug this embroidered cottage out of my closet and finally got it finished! 

27 Ekim 2018 Cumartesi

New Bathroom Lights

New Bathroom Lights

In shopping around for the Brick House, I came across the perfect bathroom scones for my cottage! Five years ago when we moved into the cottage I couldn't find anything I liked that fit my budget. I really wanted something vintage, but they were all to expensive. Plus I wasn't totally sure what I really wanted in here.

 So when I spotted these scones on Amazon and saw the ribbed glass shades, I knew it was time to update the bathroom a bit! (This was actually the second try. The first one had little halogen bulbs which we didn't like the look of.)


 It was the shades that caught my eye. Don't they look rather vintage? I decided to try the lights pointing down instead of up. This way the light shines down where it is needed. 
It is amazing how many more antique/vintage styles are available versus five years ago!


This little hoya must love humidity! He is sure happy here. We love spotting new leaflets as they sprout!

Not much has really changed. It is still a cozy little white bathroom!

27 Haziran 2017 Salı

Bathroom Trim

Bathroom Trim

Well, here it is! Trim! I can't get over how much it has changed the presence of the window. And it is so pretty and white now! I know they say all white bathrooms are not in favor right now, but I love all the clean whiteness.

 I don't think I ever shared our latest window covering. I decided it was time to get something lighter then the picture frame we had propped in the window. After much thought and discussion, I finally decided a simple piece of fabric in the window was what we needed. After combing the fabric store for something to co-ordinate we finally settled on this black and white print (which is actually flannel, but who can tell?!). I ironed heavy weight interfacing (for extra stiffness and privacy) onto the back, hemmed up the edges and stuck Velcro in the corners to hold it in place. It has worked perfectly!

 Oh how I love the new window sill!! After looking at exposed framing for close to four years it is so nice to have clean painted wood.
I really was just hoping to get window sills here and in the kitchen this summer and possibly work on the rest of the trim this fall. But one thing led to another and before we knew it, it was an all out carpenter's shop for a week. Of course, replacing (and replicating) 1920's trim is not as simple as going to the home improvement store. We had to do it like it was originally done, custom made. Fortunately, my brother specializes in custom milled trim. He milled the baseboards out of 1 x 8 boards, the window sills were cut out of 5/4 x 4, the window trim was just standard 1 x 4 with a custom milled back bend (corner piece) out of 5/4 x 3. That is a lot of wood around the window!

It took Mandy and I a full Sunday plus mornings and evenings for three days to get is all installed. (Mitered corners are tricky!) It might not be the most professional job, but it is done! And we are rather proud we did it.


The baseboard doesn't have as much of an impact on the room as the window trim. Or maybe I should say the window trim out shines the baseboard? But it is lovely to have it finished off. Though I hadn't thought about the trim being 3/4" thick and sticking out more then we are use to around the tub (to the left in the above picture). I have already cracked my toes three times on it! This picture shows very well how snug everything fits in the bath. Cozy isn't it? 


Another picture showing just how cozy the bath is. The raw wood just behind the tub wall is the linen closet. I have thought long and hard over how to finish it off and finally come to the conclusion it is working just fine the way it is now and adding a curtain or door would just complicate things. And since you can't see the linen closet from the doorway, it doesn't glare out at us. I will just need to get a trim board and get it in and that should be done.

We also got the back bend on around the outside of the doorway and the baseboard on either side. I am so excited to have finally got this project done! There are a few more windows to restore and then, I think all the original projects will be done! Amazing!

25 Mayıs 2016 Çarşamba

Trimming the Doors

Trimming the Doors

The last two weekends we have been working on trim. It is one of the last things on the list and I am so excited to be getting it done! 

 Just need a bit of sanding and painting and it will be good!
When the kitchen and bathroom were remolded sometime in the early 1950's, they tore out the original 1920's trim and replaced it with a "modern" narrow version. So in the interest of restoring vintage charm, I tore out the narrow trim and am installing replica 1920's trim.(Funny how that works, isn't it?) 

 It is a bit of a multi step process. This is step one of trimming the doors. The original 1920's trim is two pieces, a wide board and a corner piece. The corner piece we will have to make (hopefully sometime this summer!), but for now it is lovely having even a bit of trim up!

 This door from the kitchen to the back door and basement was the first, the trial run. It was also the simplest doorway to do, no counters to cut around, no wonky walls to work with. 

Doesn't it make a world of difference? 
Now that the first part of the door trim is up, we are going to switch over to windows and work on windowsills and trimming the windows in the wide boards. Then we will try to get those corner pieces made!