dining room etiketine sahip kayıtlar gösteriliyor. Tüm kayıtları göster

29 Haziran 2020 Pazartesi

Renewing Floors- 2020 Edition

Renewing Floors- 2020 Edition

Guess what we did this weekend?!? 
Yes, we shellacked the floors again! The last time was back in.... 2014! I just checked and if you are interested HERE is the link to the post about it. Goodness! All things considering the floors have held up great for six years. 
Other floors posts can be found here and here.


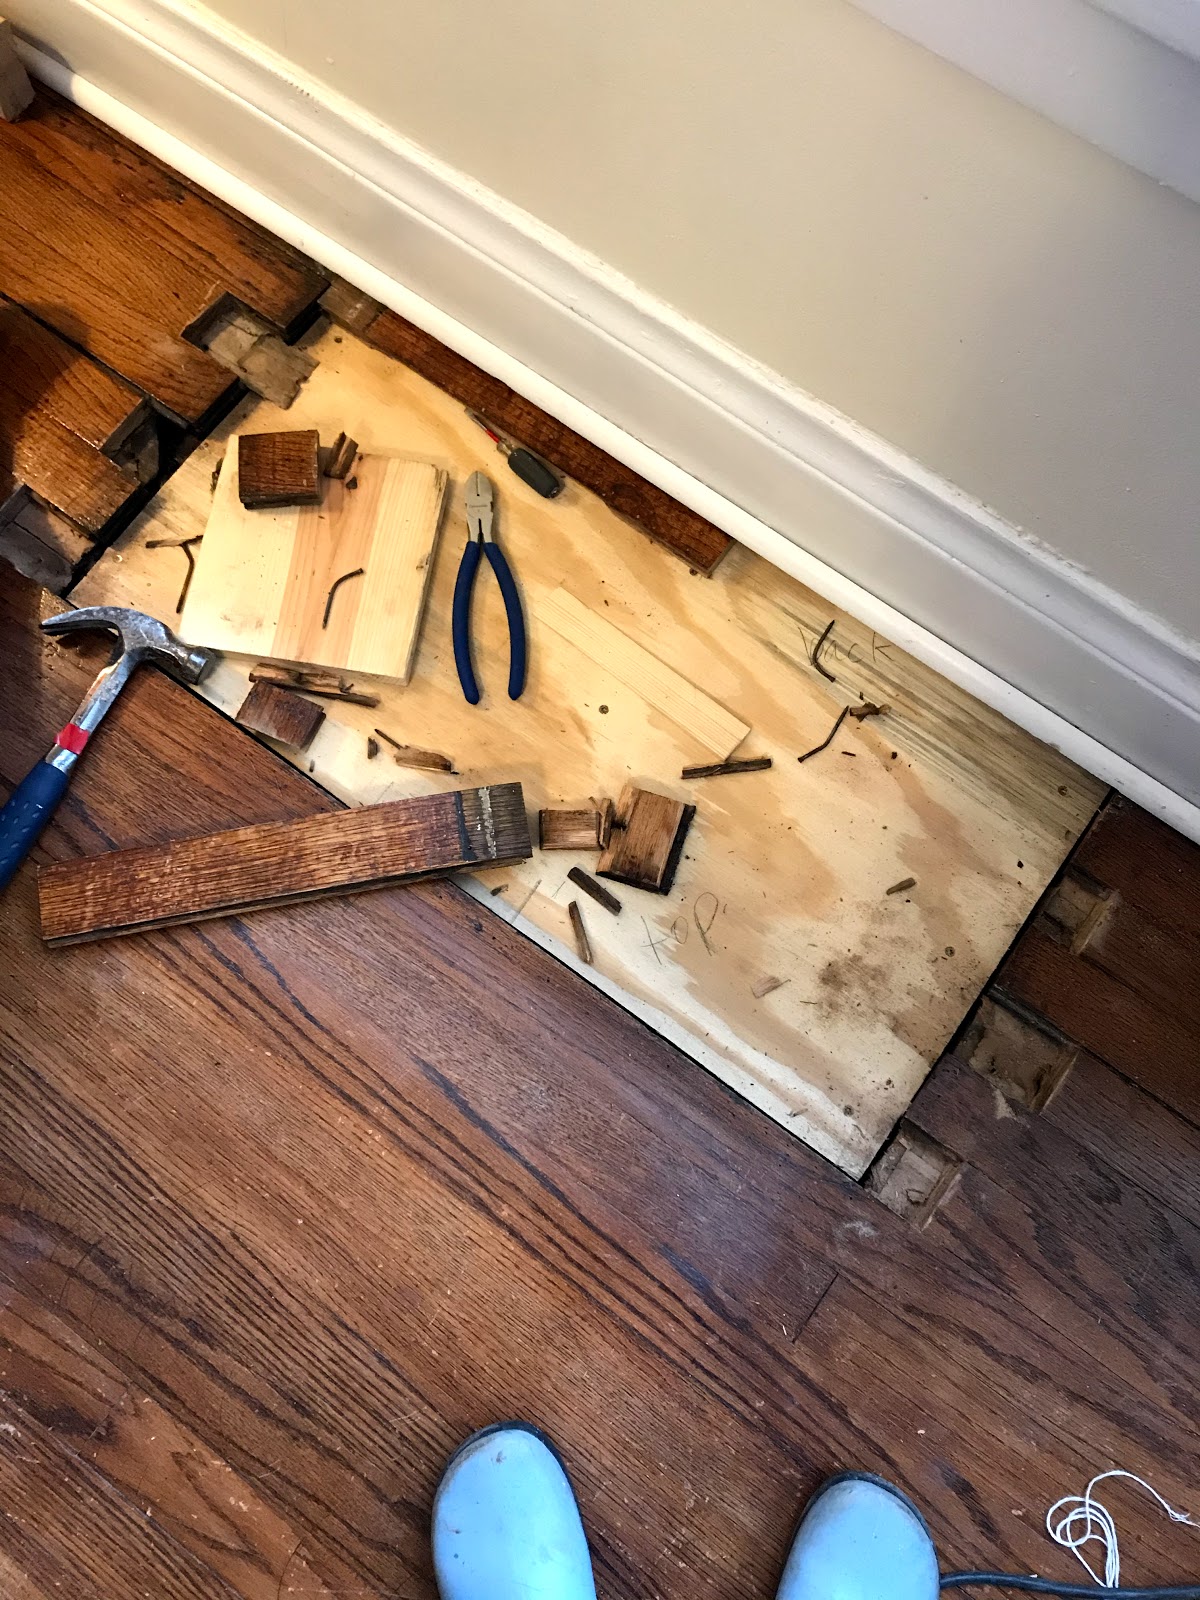
As you can see, there was worn patches and scratches. And I probably should have done this last year, but I had just finished up the Brick House floors and wasn't really ready to tackle more floors. That turned out to be okay as moving the radiators around put a few more scrapes and scratches in the floors. Not to mention the patching of the cold air returns.

There is something refreshing about moving all the furniture out and cleaning the floors and baseboards really well. (Actually, the dining room table, bookshelf and the sofa stayed. Everything else we managed to cram on the front porch and in the bedrooms!)
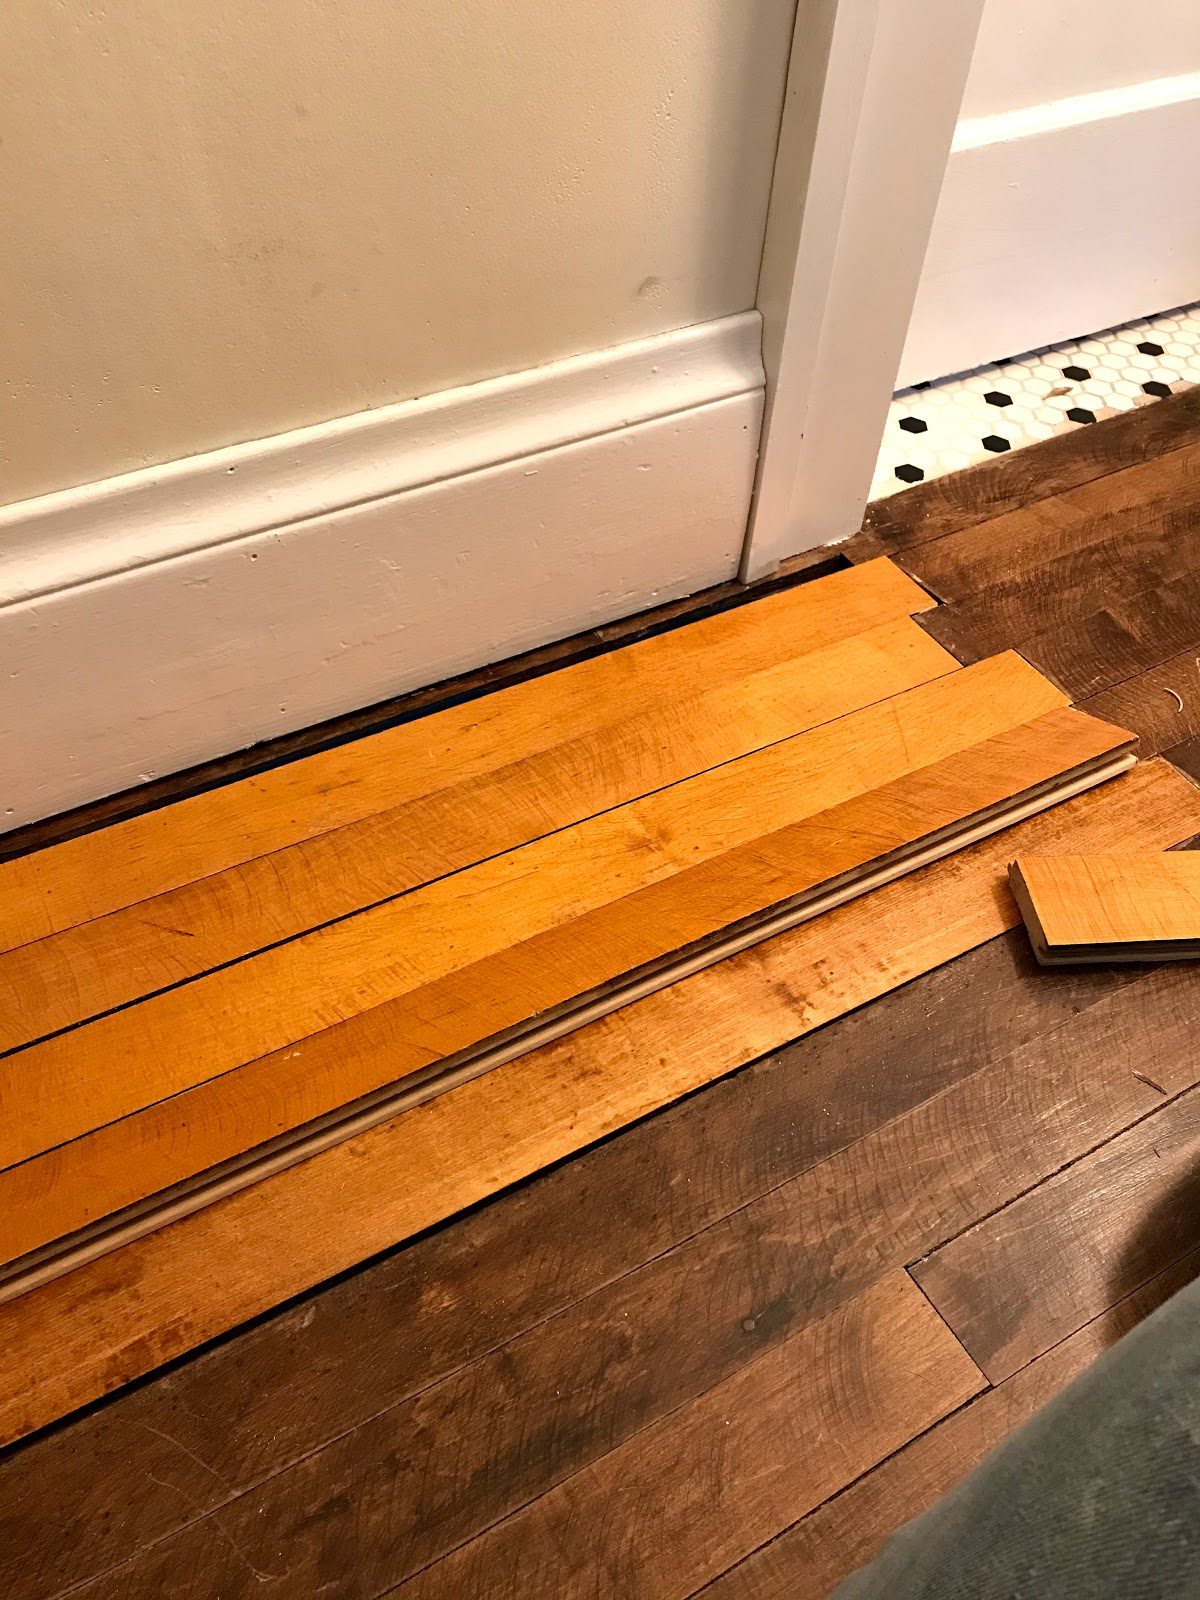
Part of this project was also redoing the little hallway floor. I never liked how it turned out, but since it was a small portion of the floor we just lived with it. Above  is the "after" with finish on it. It was quite the process to get there!

This is what I started with. I hadn't realized how scratch up it was. And obviously I needed to blend the patch with the rest of the floor.

The first step was to remove the current finish which was shellac I had put on it 2013. I tried not to use a sander as the dust gets everywhere. Instead I tried scraping it by hand with a vintage Stanley 82 scraper. It worked fairly well, but was very slow on taking off the finish. So I eventually got out a small belt sander.

Because this is maple which I tried to stain, the belt sander wasn't evening it out very well and I ended up doing a final sanding by hand with 50 grit sand paper, then hand scraping it thoroughly to smooth it. This method worked very well and I felt like it was a reasonably good place to be. I wasn't ready to spend another week sanding to try and get down below all the stain.

 The first coat was a light amber button shellac similar to what I used at the Brick House (a detailed post here). I used the same button type shellac from www.Shellac.net , just in a different shade. Yes, shellac comes in different shades! It just depends on how dark you want your orange. Lol! There isn't too much difference between the shades, but it is nice to have options.

And this is with the next coat of shellac which I put Brown Mahogany dye in. (Also from Shellac.net). I love how the dye worked! It is still a bit blotchy from the previous stain job and old sanding marks. I am not sure if it that much different from how it started, but at lest the cold air patch is blended a bit more! And the tone matches better.

  At the same time as putting the first coat on the hallway, we put a coat on the dining room. You can see the line in the picture above of "coated" and "uncoated". The button shellac is so different from the pre-mixed shellac you buy in the store. I know it is hard to tell in this picture, but the buttons are a lot less shiny, it also dries faster and harder. And for some reason not as glossy smooth. Still trying to figure that one out....

I love the afternoon sun coming in the piano window! Just waiting for everything to dry!


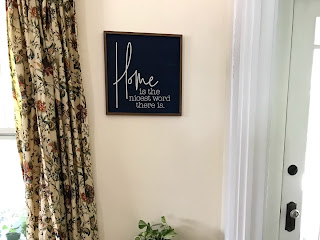
 We have been enjoying a clean and uncluttered look!


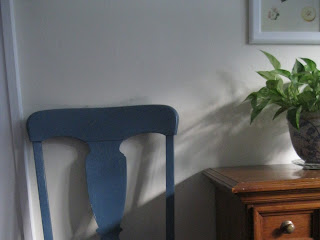
Now we are working on finding a new rug we like and wall art. This long wall has kinda been a stumper!


20 Mayıs 2020 Çarşamba

Patching Floors

Patching Floors

Hello Friends! We are all well. I haven't been motivated this winter to blog. And everything going on in the world didn't help motivate me either. But the sun is shining, we are getting back to normal and things are looking up! I hope all of you are well.
Today, I am here to talk about patching floors. And in this case, patching old cold air returns. True to 1920's science at the time, the cold air returns were huge! 
First, I will briefly mention the cold air return in the picture above. My brother did this one so I can't take credit. But I did watch carefully and that gave me courage to tackle the other two! This cold air return was also a lot smaller as it was a later edition. I suspect it must of been cut in the late 40's/50's when the heating system was updated.

Not so large at all!

Before the sub-floor was patched, but after the floor boards are cut back.

 This is the dining room cold air return. Inconveniently placed just behind the dining room table. (And yes, we had a couple of incidents of chairs legs getting stuck in the grate and people suddenly falling off their chairs.) We were glad to see this one go!
Mandy and I added a couple of new blocks on the edges to make sure the subfloor would be stable. In the photo above you can also see that part of this area has a decided tip. It is a small window bump out. And given that it is a few years shy of 100 years old, a bit saggy. Which made it a little tricky getting the new plywood sub floor mostly level!

 We finally got approximately level. Then the next step was cutting back the old floor boards to "feather" in new. As you can see, the "new" boards match almost perfectly! I raided my older brother's stash of old flooring and after a good clean, the boards blend right in! That is one advantage of using the same shellac finish as old flooring! 

And after a bit of hammering, screwing and cutting, the new boards are in! On this patch we were lucky as the tongues were facing toward the wall. Which means we started laying the boards from the front edge of the hole to the back. And the last board is held in place with a couple of face nails or nails through the top of the board. 

 Naturally, the cold air return across the room in the hallway was quite as easy.....
For one thing, the tongues go the other way, meaning we had to start at the wall and work out from there. But first I had a little trouble locating a couple of old maple floor boards. Our local salvage place was out, the older brother didn't have any the right width... finally I discovered my brother-in-law had a stash! Yey for family members that are also into old houses!!

 One tool I would highly recommend for a project like this is oscillating multi tool saw. Very neat tool! It is a little hard to cut super straight when cutting straight down with a vibrating tool, but a lot neater than a hammer and chisel.
Once the old boards were cut back, new boards cut to length we were ready to screw in the boards. That is when we discovered we should be working from the wall out! Opps! Just a few screws to unscrew and we were headed in the right direction. All went good until we got to the last board next to the old floor. The tongue on the old flooring was also ready cut off , so that was good. But the new board was warped and refused to go in it's place. (Even when boards aren't warped it is tricky getting the last board in place!) So we unscrewed the next to last board, wedged the warped board in place and screwed it down and then put the next to last board in. Except it was a close call..... We hammered and wedged and pushed for all we were worth and it would not go! We scraped and chiseled edges and it still would not go. Mandy and I just kept banging away and just about the time we were going to give up, it popped into place! 
I told Mandy to sit on it while I ran to get the trim nails! We did not want it to even think about coming out!

This one was a bit odd to feather in. At the one end is my bedroom door, so couldn't go that way. The other end is the bathroom door way. And since I am not 100% sure how well I am going to get the old and new to blend I didn't want to feather into the doorway. 
So I ended up only feathering an inch or inch and half. It still turned out really well! So I am happy!
The next project is to try and figure out how to blend the old and new. The old floor is maple. It was covered with 1940's linoleum when I bought the house. After pulling up the linoleum, we used a steam mop to heat the black tar/glue stuff to get it off. The heat and steam opened the pores in the wood and allowed it to take up stain. (Normally maple is notoriously hard to stain! But I didn't know that!) I am not sure I can replicate that whole scenario on the new boards.
But I will keep you posted!

16 Mayıs 2017 Salı

Caning Chair Seats

Caning Chair Seats

Chairs are at a premium when all the family is over, so with visits already planned for this summer, I knew it was time to get a couple of seats re-done.
Unfortunately, the blue side chairs with the covers I made to match the curtains haven't held up very good. but I had always planned on caning them once the covers gave out!

 This is a fairly easy project. I don't use any special tools, though there are plenty available.  An extra wide flat head screw driver, a utility knife and heavy duty scissors do the job just fine for me. The pre-woven caning I purchased from Rockler.
To start, you need a chair that is clean and has a groove around the center hole(if there are small holes around the center hole, it was caned by hand, not pre-woven caning). You will also need to soak the roll of caning and spline in water for at lest twelve hours. (Mine actually soaked for almost a week as I didn't get to it as soon as I thought I would!)

 Cut off a square of caning that will cover the center hole with plenty of extra around the edges. Trim to shape so it covers about 1/2" past the groove. To help make sure I put the caning in straight I lined up a row of caning along the edge of the center hole.

 Along the front edge, gently push the edges of the caning down into the groove with the flat head screwdriver. Check frequently to make sure the caning stays straight.

 Push the spline firmly into the groove working your way across the front.

 To get around the corner, while bending the spline, push it into the groove.

 Trim the caning if it looks like it will stick up beyond the spline.

 Continue poking the caning into the groove and pushing the spline down.

 Once you have worked your way up both side and around to the back, continue until the spline ends meet.

 Now all that is left is trimming the ends!

 Make sure you trim the spline so the ends are at lest touching or overlapping slightly. When the caning and spline dry it will shrink.

And that is it! One chair seat done!


 I am really liking the contrast of the natural caning with the blue, so I will probably just put a clear coat of shellac on it.

Another project crossed off the summer To-Do List!
What is on your list this summer?

17 Nisan 2017 Pazartesi

Easter Hot Cross Buns

Easter Hot Cross Buns


Happy Easter Friends!
I hope your Easter weekend was lovely. Mine was full of sunshine, daffodils, hot cross buns and insulation. Yes, we know how to celebrate holidays in my family. We plan work parties! So Saturday Mandy and I helped insulate our brother's house. This has been an ongoing project which we have been working on for about two weeks, so glad to finally be finished!


 We had daffodils for Easter! Actually, they were up last week and I was going to post about them, but the week flew by before I had a chance. Our Easter celebrations were last weekend on Palm Sunday as that is when all the family could get together. It was lovely and I was so happy to have daffys for both weekends!


 I finally got around to making Hot Cross Buns! Something that has been on my to-bake list for awhile. They were quite easy to make and scrumptious! The recipe is from my Great British Bake Off Cookbook, but here is a recipe from Mary Berry that is very similar. I really liked the piped on flour paste cross instead of the usual (American) icing cross. When I checked on the buns shortly after putting them in the oven I was sad to see the cross had soaked in and was barely visible. But the next time I checked, the buns were a lovely golden brown with a pale cross shining through!


 Oh the new leaves! Everyday there are trees with new leaflets. I am so enjoying laying in bed soaking up the green view!


 These beauties came with the little house. I usually prefer my daffodils yellow, but these have been especially lovely this year.