radiators etiketine sahip kayıtlar gösteriliyor. Tüm kayıtları göster

20 Mayıs 2020 Çarşamba

Patching Floors

Patching Floors

Hello Friends! We are all well. I haven't been motivated this winter to blog. And everything going on in the world didn't help motivate me either. But the sun is shining, we are getting back to normal and things are looking up! I hope all of you are well.
Today, I am here to talk about patching floors. And in this case, patching old cold air returns. True to 1920's science at the time, the cold air returns were huge! 
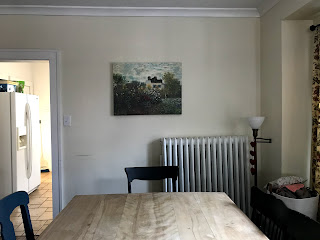
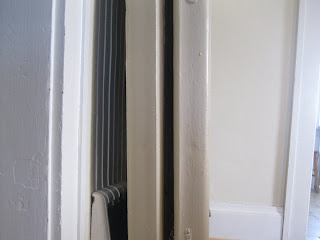
First, I will briefly mention the cold air return in the picture above. My brother did this one so I can't take credit. But I did watch carefully and that gave me courage to tackle the other two! This cold air return was also a lot smaller as it was a later edition. I suspect it must of been cut in the late 40's/50's when the heating system was updated.

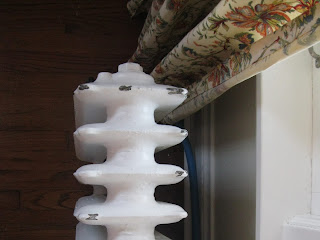
Not so large at all!

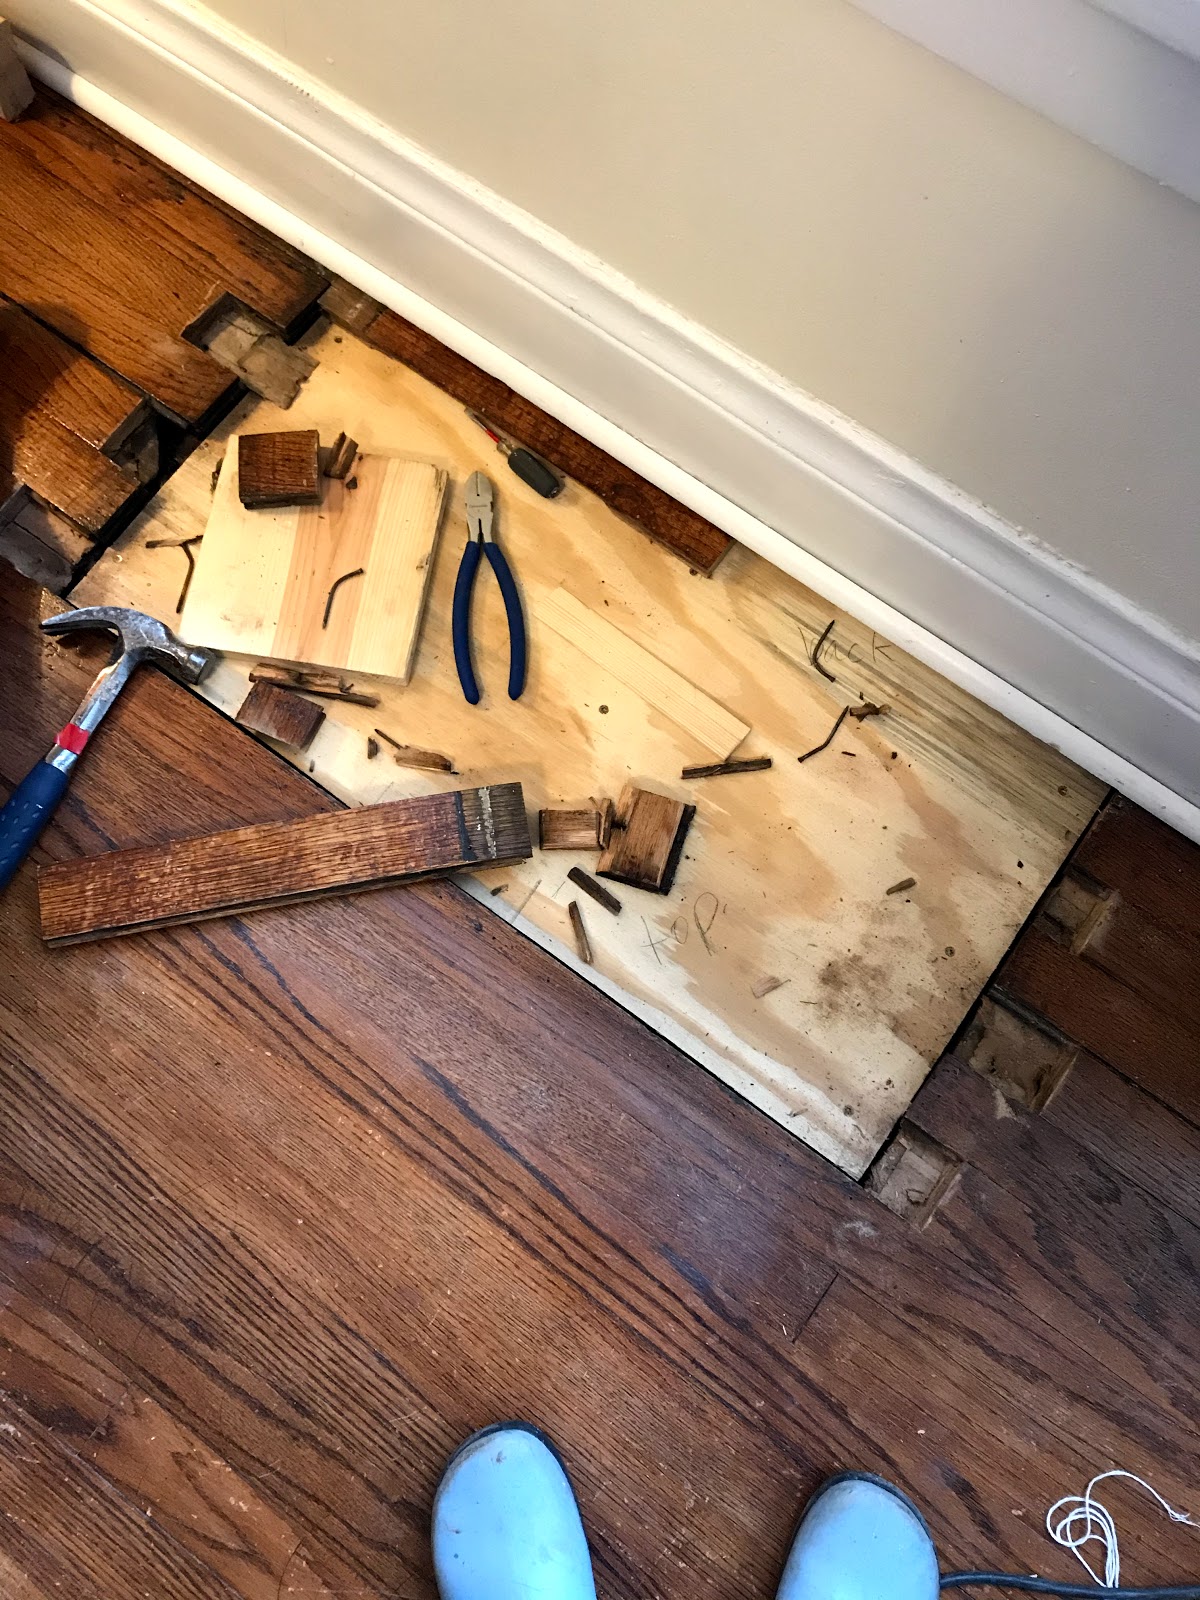
Before the sub-floor was patched, but after the floor boards are cut back.

 This is the dining room cold air return. Inconveniently placed just behind the dining room table. (And yes, we had a couple of incidents of chairs legs getting stuck in the grate and people suddenly falling off their chairs.) We were glad to see this one go!
Mandy and I added a couple of new blocks on the edges to make sure the subfloor would be stable. In the photo above you can also see that part of this area has a decided tip. It is a small window bump out. And given that it is a few years shy of 100 years old, a bit saggy. Which made it a little tricky getting the new plywood sub floor mostly level!

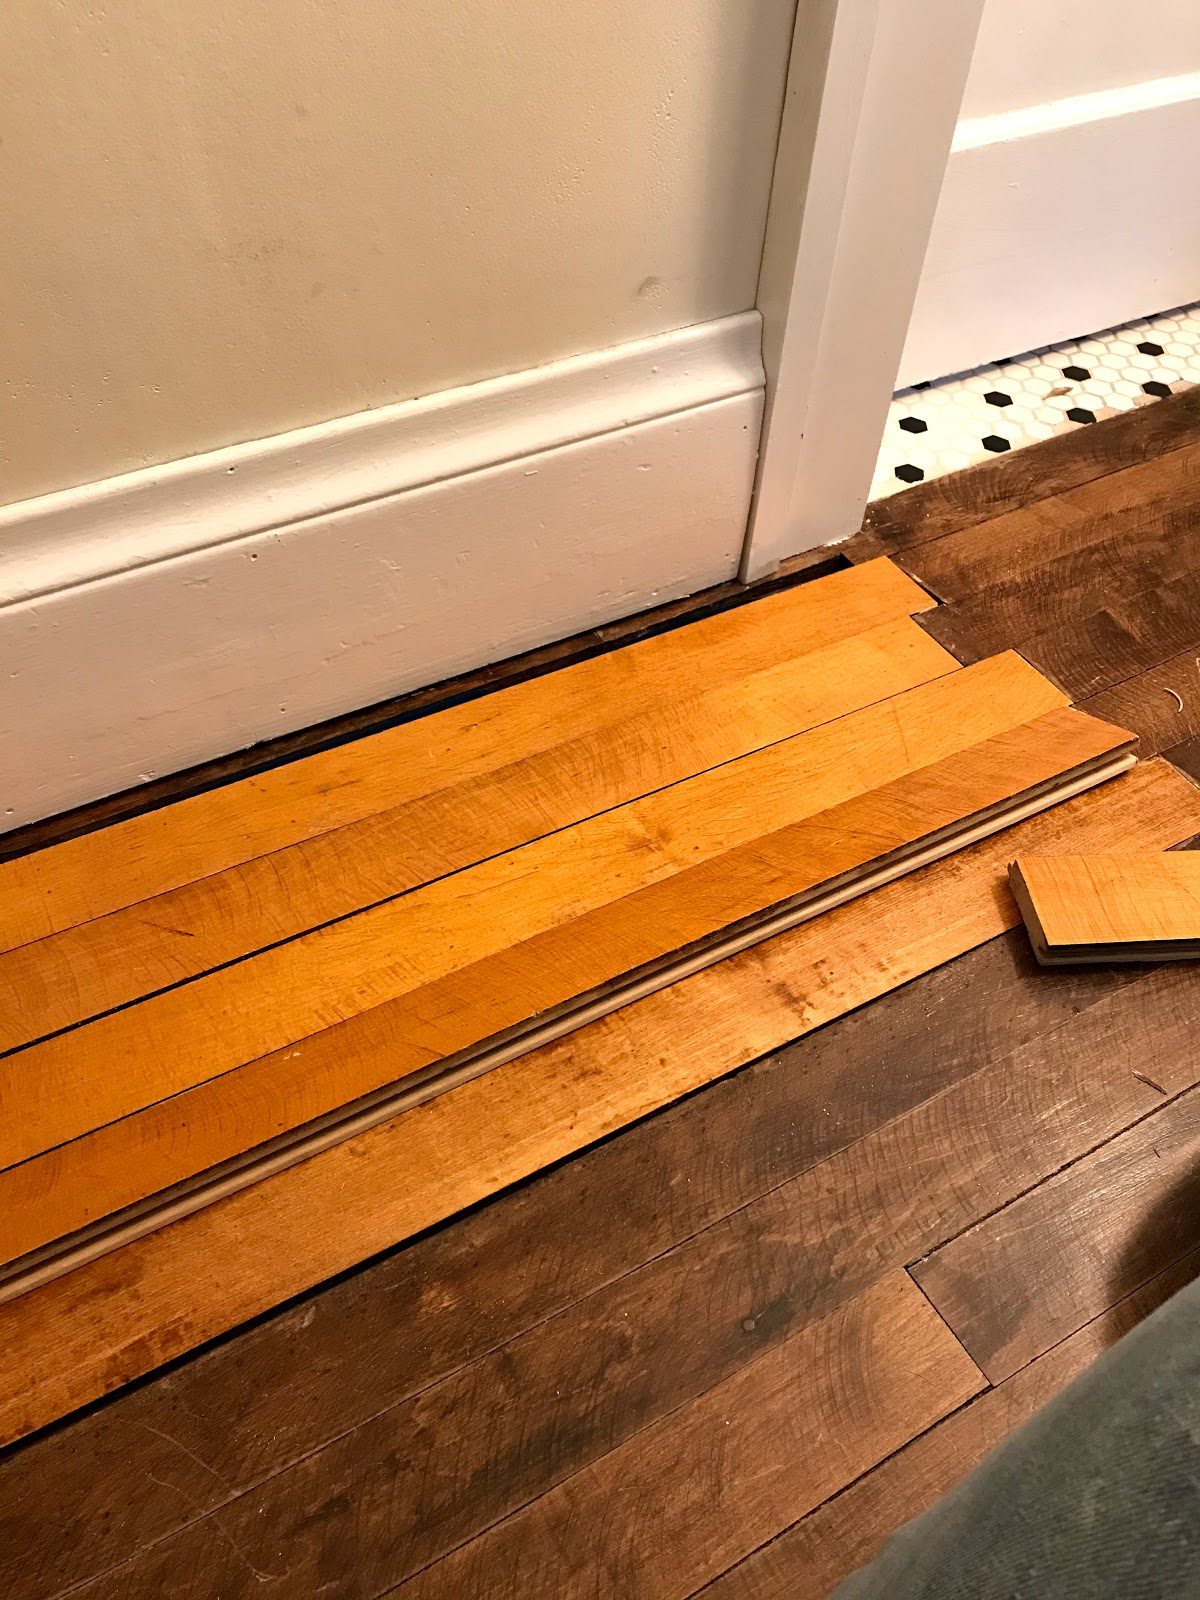
 We finally got approximately level. Then the next step was cutting back the old floor boards to "feather" in new. As you can see, the "new" boards match almost perfectly! I raided my older brother's stash of old flooring and after a good clean, the boards blend right in! That is one advantage of using the same shellac finish as old flooring! 

And after a bit of hammering, screwing and cutting, the new boards are in! On this patch we were lucky as the tongues were facing toward the wall. Which means we started laying the boards from the front edge of the hole to the back. And the last board is held in place with a couple of face nails or nails through the top of the board. 

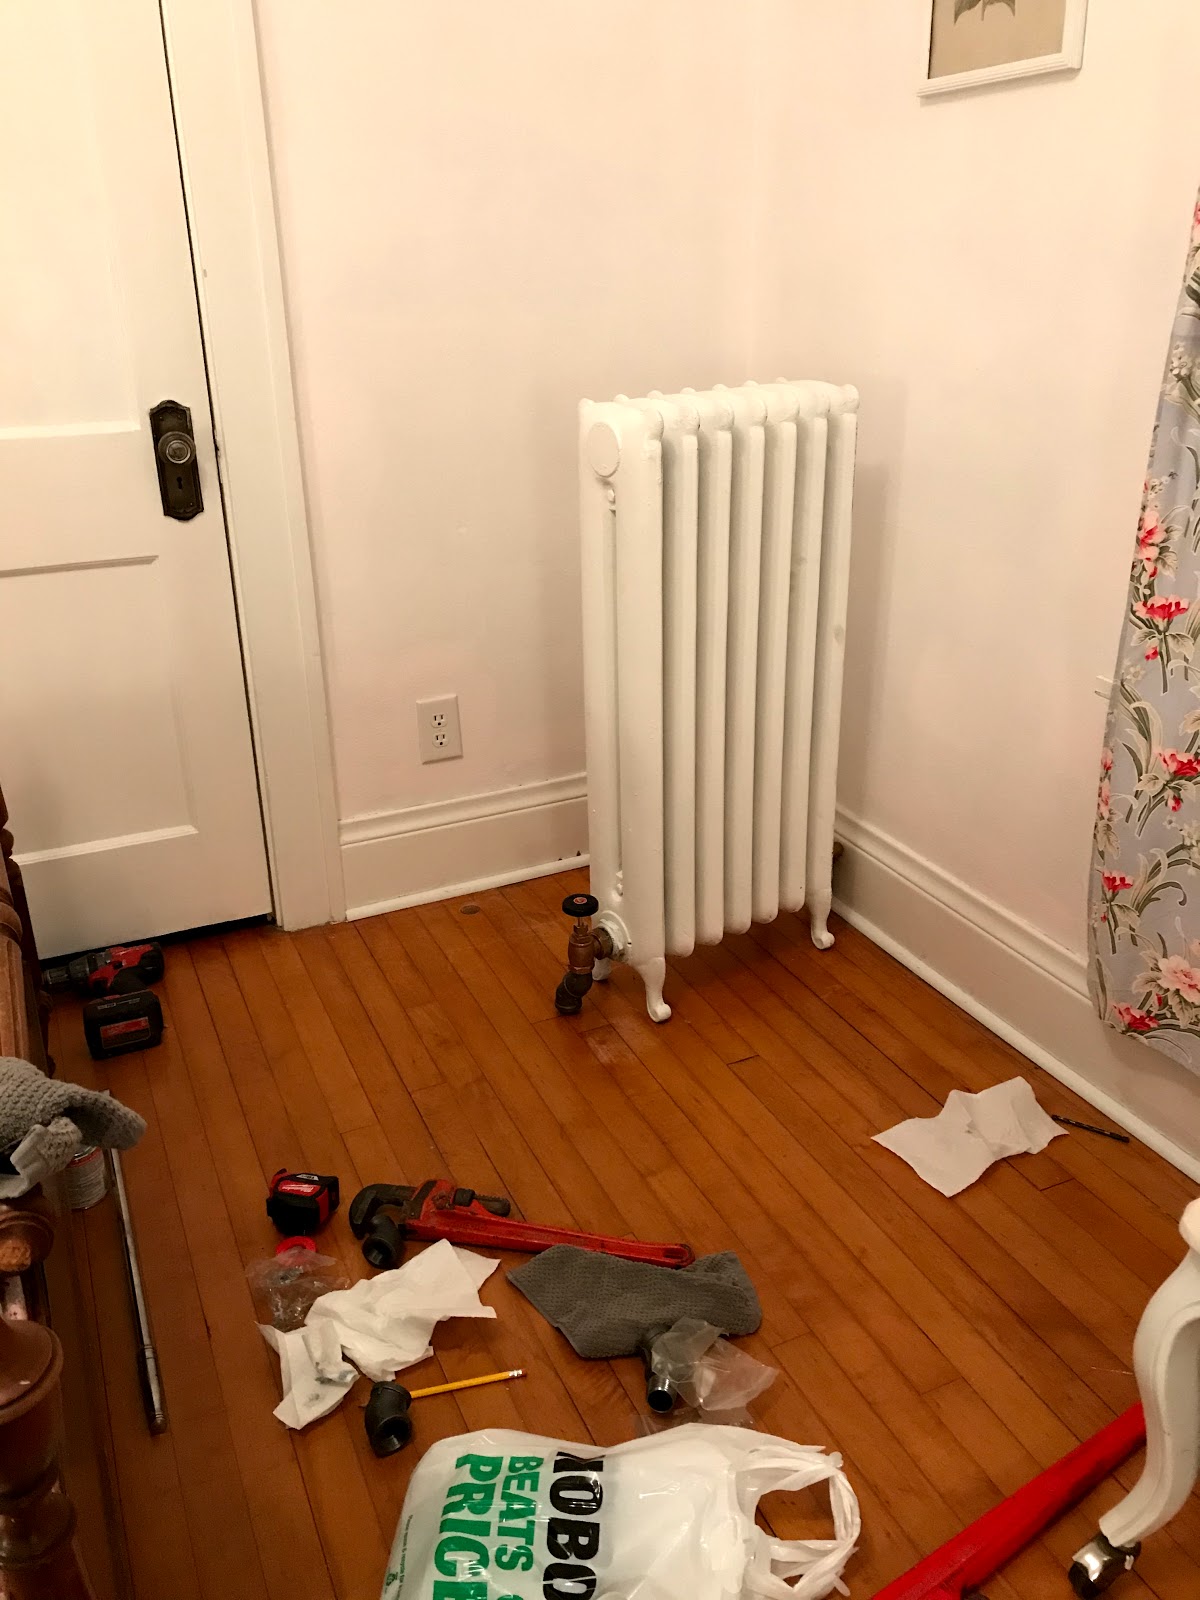
 Naturally, the cold air return across the room in the hallway was quite as easy.....
For one thing, the tongues go the other way, meaning we had to start at the wall and work out from there. But first I had a little trouble locating a couple of old maple floor boards. Our local salvage place was out, the older brother didn't have any the right width... finally I discovered my brother-in-law had a stash! Yey for family members that are also into old houses!!

 One tool I would highly recommend for a project like this is oscillating multi tool saw. Very neat tool! It is a little hard to cut super straight when cutting straight down with a vibrating tool, but a lot neater than a hammer and chisel.
Once the old boards were cut back, new boards cut to length we were ready to screw in the boards. That is when we discovered we should be working from the wall out! Opps! Just a few screws to unscrew and we were headed in the right direction. All went good until we got to the last board next to the old floor. The tongue on the old flooring was also ready cut off , so that was good. But the new board was warped and refused to go in it's place. (Even when boards aren't warped it is tricky getting the last board in place!) So we unscrewed the next to last board, wedged the warped board in place and screwed it down and then put the next to last board in. Except it was a close call..... We hammered and wedged and pushed for all we were worth and it would not go! We scraped and chiseled edges and it still would not go. Mandy and I just kept banging away and just about the time we were going to give up, it popped into place! 
I told Mandy to sit on it while I ran to get the trim nails! We did not want it to even think about coming out!

This one was a bit odd to feather in. At the one end is my bedroom door, so couldn't go that way. The other end is the bathroom door way. And since I am not 100% sure how well I am going to get the old and new to blend I didn't want to feather into the doorway. 
So I ended up only feathering an inch or inch and half. It still turned out really well! So I am happy!
The next project is to try and figure out how to blend the old and new. The old floor is maple. It was covered with 1940's linoleum when I bought the house. After pulling up the linoleum, we used a steam mop to heat the black tar/glue stuff to get it off. The heat and steam opened the pores in the wood and allowed it to take up stain. (Normally maple is notoriously hard to stain! But I didn't know that!) I am not sure I can replicate that whole scenario on the new boards.
But I will keep you posted!

21 Şubat 2020 Cuma

Boilers and Radiators

Boilers and Radiators


You know how when you plan a big home renovation you know it is going to be totally worth it, but know before you get to the amazing finish there will be chaos, many decisions, hard work and furniture moving? And when you emerge, slightly frazzled and very much poorer, after the whole ordeal and say "Yes, it was worth!", but that was a LOT of hard work!! Whew! (It amazes me I always forget this! Lol!)
That is where I am right now. Recovery mode. 
We absolutely love our hot water heat!! It is heavenly! My allergies are great! The upstairs is warmer than we anticipated!(One problem we were hoping to solve.) It really is a dream for an old un-insulated house. We cannot tell what the weather is like outside anymore. (Old house dwellers, you will know what I mean. The it-feels-slightly-more-drafty-then-usual-must-be-windy-outside. Or yep-temps-are-falling-the-corners-are-colder.) We feel insulated! It is so even, no warm or cold air drifting around the house.

To get to this heavenly warm bliss took four months, quite a few late nights and several long Saturdays. And we had a blast! Thank the Lord for family. My younger brother was as intrigued by the idea of retro-fitting hot water heat as I was! 

It is hard to know where to even start! Two years ago I bought a house full of radiator, which had been waiting in the garage. We measured each radiator and figured the btu's, then spent several weeks discussing which radiator would work for which room and where to put it. We finally decided we needed two more small ones for the bedrooms, which we were able to find at a radiator salvage place in Duluth, MN.

This summer I worked on scraping and painting the radiators, which I posted about HERE and then Mandy and I removed all the old duct work, which you can read about 
HERE. So glad we don't have to do that again! Yuck!

The next week we started plumbing in the supply lines and install radiators! This is the one in my room. 
The project ended up falling into three phases: Phase #1- installing main supplies and returns, installing boiler, installing downstairs bedrooms and bathroom radiator, Phase #2- Switching dinning room radiator and moving living room radiator, Phase #3 piping in and installing upstairs radiator.

Lots of big pipes! We used 2" black iron for the supply and return lines. Then 1 1/2" and 1" pipes depending on the size of the radiator. Thankfully the brother had plenty of muscle to screw them all together! I stuck with organizing all the different sized fitting, handing tools and putting Teflon tape and pipe paste on fittings.

We installed the main supply and returns, the piping to both bedrooms and the bathroom. This is the bathroom radiator above. In floor radiant heat 1920's style! This style of radiator was made to fit perfectly between floor joints or you could hang it on the wall. They knew how to make the most of small spaces back then! The kitchen radiator was also pipped and installed. We couldn't install the dining room radiator or the living room as we had to do a little shifting around, which I will explain later. For the radiator upstairs in Mandy's room we added tees and valves and figured out where the pipes would run, but her radiator was phase #3! So that comes later! 

Finally the day before Thanksgiving the boiler arrived! It took a few weeks before it was up and running, but as soon as we could we connected it to the kitchen, bedrooms and bathroom radiator and fired it up! At this point we had part of the house running off the boiler and the living and dining room running off the hot water heater. But not for long!


We made sure to put plenty of gauges in! I love running down and checking the pressure and temperatures. This also helps us know if the system is running correctly and efficiently. Because we used old radiators we have also ready had a couple of issues with clogs in the system. (We think a mouse was eyeing up a radiator for a winter nest! Lots of debris floating around the system. Thankfully we have a strainer before water goes back into the boiler.)
Whew! That was the end of Phase #1! Just in time for a cold snap!


On to Phase #2 which required a couple of strong guys to move the radiator currently under the living room window upstairs! We were all a little apprehensive, but guys were pros and it was up the stairs and in it's new home in seven minutes. Then they moved a slightly larger radiator from the garage into the living, but hold on... Is that a hole in the floor?!?
It just so happened that there was an old cold air return right where the legs of the radiator was going to sit! I was prepared and had some salvaged oak flooring (from the elder brother) handy to patch it up.

Can you believe that is the hole? I can't take credit for this one, the brother did most of the work. But I have two more to do, so hopefully I can post a couple of tips. It really helps to have old wood floor boards that match your floor color! I was really surprised how well they matched. I think it helps that the floors and the patched boards all have shellac on them!

Before those radiator hauling guys left, we also had them move this giant radiator from the corner of the kitchen/dining room/hallway to the other side of the kitchen doorway. We had originally put it next to the hallway because we knew it would help heat the bedrooms and because there was an old heat vent we could run the temporary pex piping down. Moving it heats the dining room more evenly and prevents the bedrooms from getting over heated now that they have their own radiators. 
The radiator placement was the most discussed. Should it be centered on the wall? Should we leave it next to the doorway? We finally decided to put it in the corner which would leave enough room for a piece of furniture next too it.

As you can see, we ended up moving almost all the furniture in the dining room and living around! I will post about that later.
That was also the finish of Phase #2.


On to Phase #3! Once the radiator was upstairs we just had to get pipes up. After the a lot of figuring and measuring we decided the best way was to run the pipes up along the corner of the entry next to the coat hooks. We would leave these pipes exposed as we knew that was not 4" thick, it was only 2". (Once I paint the pipes, they will look like they have been there a hundred years!) 

But the only way to get across the room was to run the pipes inside the floor, so we had to cut a hole in the entry ceiling. Nothing I can't fix, but it is always sad (and messy!) cutting into plaster! This was the last phase of the project and we were so ready to get it done! Maybe this project has more than three phases? Phase #4 is cleaning up. Can't wait for spring to give the basement a good clean out! It is disastrous! In the mean time, I can work on plaster and floor patching and trim patching....

In case you are curious, here is a break down in costs. It is such a different project, we didn't really have a good idea what it was all going to cost.

1100 sq. ft house with 8 radiators
9 radiators from Craig's list - $400
2 radiators from Northland Radiator in Duluth, MN - $300
boiler - $3000
pipes, fititngs, valves - $3000
Total - $6700

I love these radiators! And I am so grateful my brother was willing to tackle this project with me! At times it was a family project as occasionally the only way he could find available time was to bring the kids along. It made for a fun family circus! And I hope we have instilled a little renovation love into the next generation!

Let me know if you have any questions friends, I would love to talk more about my hot water heat!

18 Ekim 2019 Cuma

Radiator Love & Ductwork

Radiator Love & Ductwork

With fall coming on fast, this past month I knew I had to get my radiators ready to install! All summer I have been slowly working away on them. The definitely needed a little love!

 This one was by far in the worst shape! (This one is also one of the smallest ones and goes in parent's bedroom.) It took a full day of scraping and brushing with wire brushes to remove all the flaky paint.

Oh those details!!

 I did a bunch of research on what to paint radiators and how to clean up these beauties. From what I gathered (and shifted!), wire brushing followed by a good rinse and a through towel dry was the preferred method. I tried using a wire brush attached to a drill was unable to control it to my satisfaction. So I used a variety wire brushes by hand and called it good. 

I then sprayed them with oil based primer for metal. Only two of the eight radiators to be installed were scraped down and primed. All the others had paint in quite good condition.

 After research I decided to go with my favorite Sherwin Williams trim paint, Pro Classic Alkyd Interior Enamel. There was quite a bit of feed back online about oil based paints/automotive/metal paints off gasses once the radiators warmed up. And since I knew we were going to be installing and using the radiators right away, I didn't want to have off gassing issues. 
Plus, most the radiators were already painted with interior paint and it seemed to be hold up fine!

And here they are with a fresh coat of trim paint! Thank goodness for brothers with spray guns! Or I might have been at it all year!

 The Alkyd Enamel goes on really nice with a spray gun and one coat did the trick. Now they are ready to install! 


That also meant we were ready for the next step. In order to install the hydronic pipes we had to first take out all the old duct work. A job we were not looking forward to!
Since we were worried about allergen getting everywhere we covered everything in plastic sheeting. Looks a bit spooky!

We then carefully detached sections of the duct work sealing the ends with plastic before taking them outside. It was quite a pile!

So much more room now! 
After all the ducts were out, we vacuumed and mopped the floors. And I am happy to say, I did not have any allergy attacks during or after the project! So I guess we did something right! (Of course, I wore a respirator and goggles while taking the ducts down and as soon as we were done cleaning up I took a shower.)

 Now we are finally ready to start installing the hydronics! This weekend we are hoping to at lest get part of it in. Winter is not that far off!


I am really excited about the little thin radiator that goes under the bathroom floor! In-floor heating 1920s style!

1 Şubat 2019 Cuma

Old Radiators, New PEX

Old Radiators, New PEX


Since most of us have spent the week hunkered down trying to stay warm, let's talk about furnaces! Hot water furnaces to be exact.
I have always thought my little house would be perfect if it only had hot water heat, but alas it has forced air. I did think briefly about changing it when we first moved in, but there were so many things that still needed work or finishing. But this spring in the middle of an allergy attack I texted my brother and said I need hydronic heat!!
Yes, after living in the little cottage for five years I finally figured out I am allergic to whatever the furnace blows out! I don't know if it is just old dirt, cat hair, dog dander or what, but it turns me into a basket case. I am no stranger to allergies as at the age of four we discovered I was allergic to food dye. Hives are a weekly occurrence, sniffy nose, itchy eyes, scratchy throat are common. But I have never never felt so horrible as when the furnace/air conditioner blows. I could hardly drag myself out of bed I was so tired, I constantly felt like I had the flu and couldn't eat, I couldn't sleep or think. (I had a lot more symptoms, but you get the idea.) 
This summer we tried an experiment and did not turn on the AC; instead we invested in two window units. In two months I had all my energy back and was ready to tackle the Brick House head on!

 This fall when it started getting chilly we were in of a bit of quandary. Wisconsin gets cold! And we knew a ton of space heaters wasn't going to work, though it got us through the fall months. So my brother and I hatched a plan!
This past Spring I found a houseful of radiators on Craig's List. They were from a smallish bungalow like mine and most of radiators would work for my house. I did end up purchasing two more for the downstairs bedrooms as there wasn't quite enough small ones.
So we had radiators, but not a boiler. But every house has a hot water heater, right? And a hot water heater does the same thing a boiler does, heat water. Would a hot water heater be able to heat a cast iron radiator enough to heat a house? We decided to find out!

My brother also happened to have a heat transfer plate, circulator and expansion tank. The only thing I needed to buy was an additional circulator pump, PEX fittings and some copper pipe to plumb everything in. We were able to poke the PEX piping up through heat/cold air vents so everything is temporary right now. (I am still planning on putting in a real boiler this year!)
The way a hydronic system works is a boiler/hot water heater heats the water, a circulator pump pumps it through the pipes and the radiators. As the hot water goes through the radiators it heats the cast iron and since cast iron radiates heat so well the air around the radiators also get warm. The water continues around it's circuit and returns to the boiler/hot water heater to be heated again. 
My temporary system works the same, except the water from the hot water heater goes though a transfer plate which transfers the heat to water in the radiator system. In this way the water in the radiators and the water in the hot water heater stay separate and we are not washing with water that has been through a radiator. (It picks up a lot of iron and turns black! Yuck!)

Wow these old radiators really work! In a couple of minutes we could feel the warmth radiating out of them and in an hour you just wanted to snuggle up next to it! Of course it is not as even as it would be with a whole system, but it is keeping us comfortable. The bedrooms (where there is no radiators) are about 2-3 degrees cooler. We started slow and connected one radiator first. It worked great during the day, but wasn't able to keep the house a steady temp over night. The hot water heater seemed to be doing fine and not running excessively, so we connected another radiator to the system. Now the living-dining room stays a very steady temperature even during the night.
And how did our temporary system do in the artic blast? Not too bad! It couldn't quite keep up during the extreme overnight lows and would dropped down about three degrees, but it would get back up to normal temperature during the day. I think that wasn't bad for a temporary system!


 Radiators are also a mittens best friend! I don't know what it is about the radiant heat, but mittens dry in minutes and look better then ever!

So, have you ever lived in a house with hot water heat? Did you like it? Would you like to have hot water heat again? Please share, I would love to hear all about your experience! I am all about radiators and hot water heat right now!