Brick House etiketine sahip kayıtlar gösteriliyor. Tüm kayıtları göster

14 Haziran 2019 Cuma

Brick House: Living Room and Entry Before & After

Brick House: Living Room and Entry Before & After


One last Before & After to finish up the Brick House! I am so excited to have good people living here. They love the backyard and appreciate all the space. Though it is really weird not going over to work on the Brick House every morning. That has been the hardest to get use to....


Do you remember what the living/dining room looked like before? I didn't! Ha! Going back and looking at these Before pictures is a bit scary! Yikes! I don't remember it looking this bad..... I guess I really had a vision. And I am so glad the house has lived up to the vision!

 Oh those dark walls!

The front entry just looks filthy! At lest this is an after-carpet picture or it would have been worse...

 Let's get back to the pretty photos, shall we? 

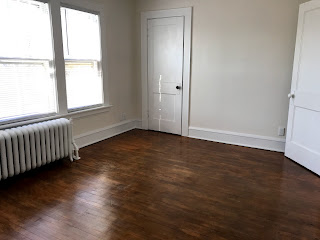
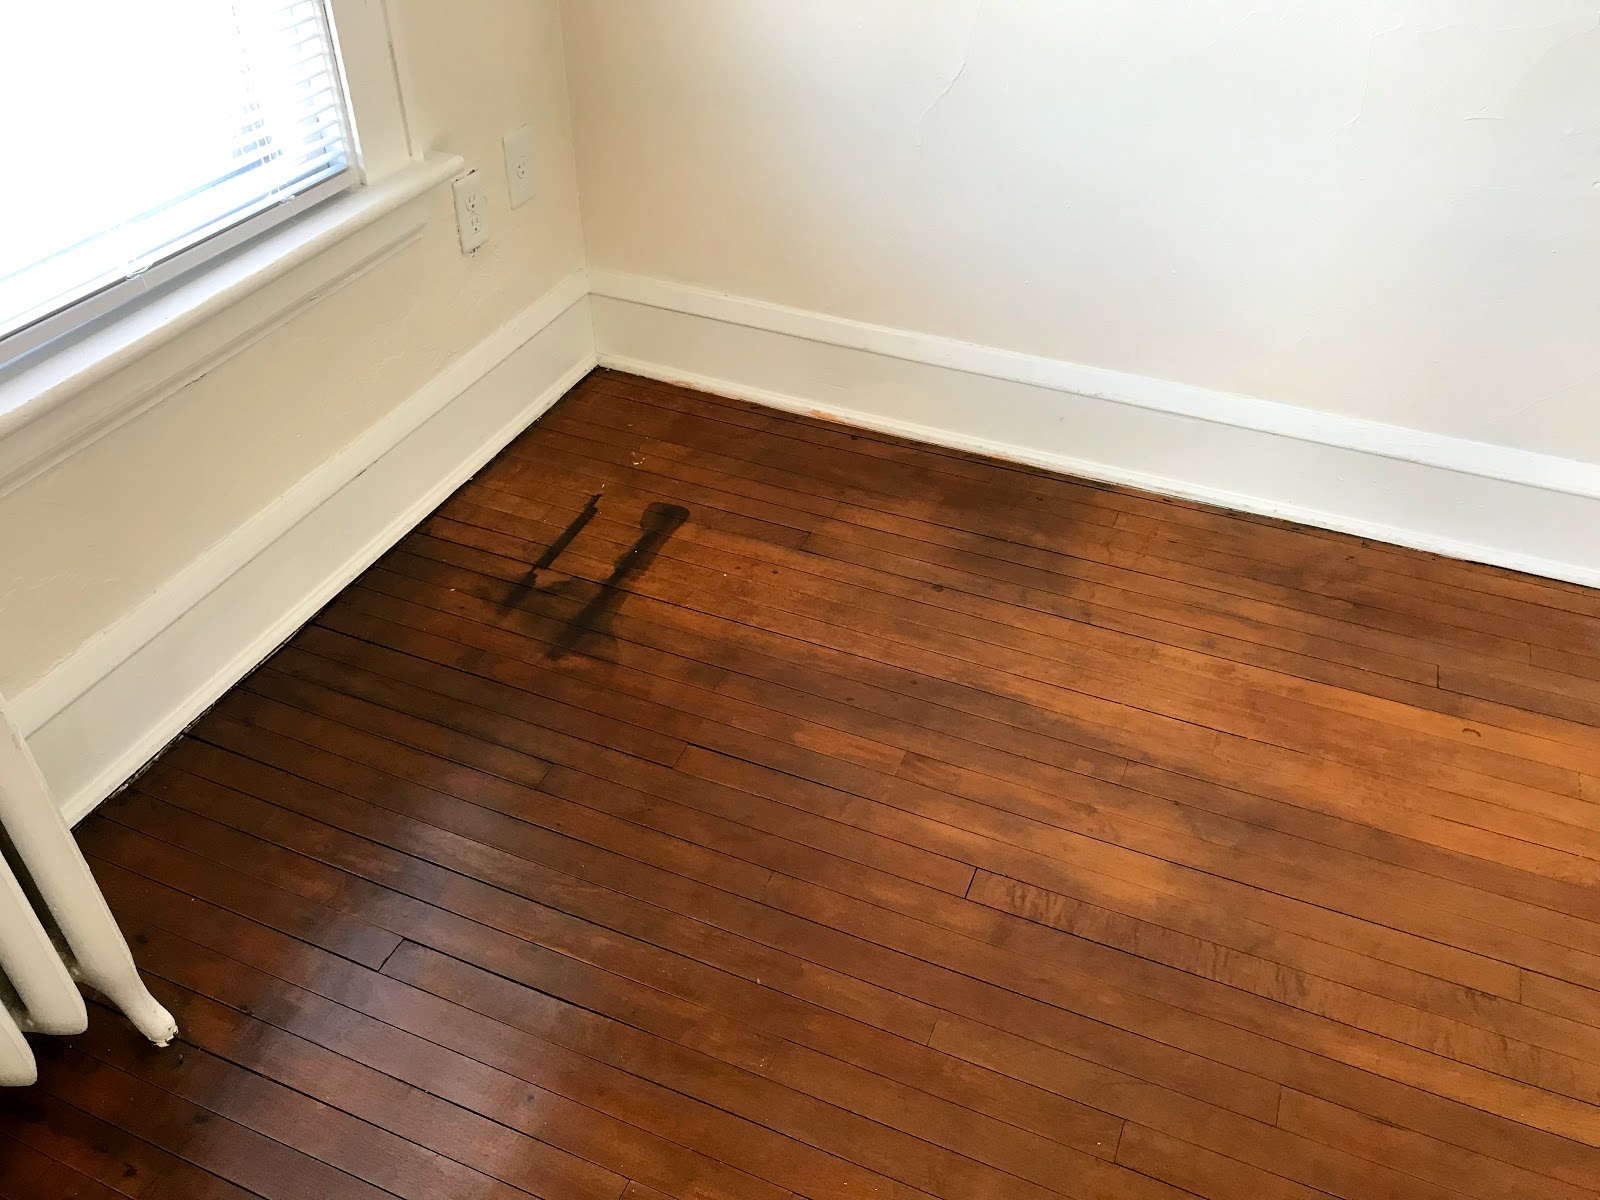
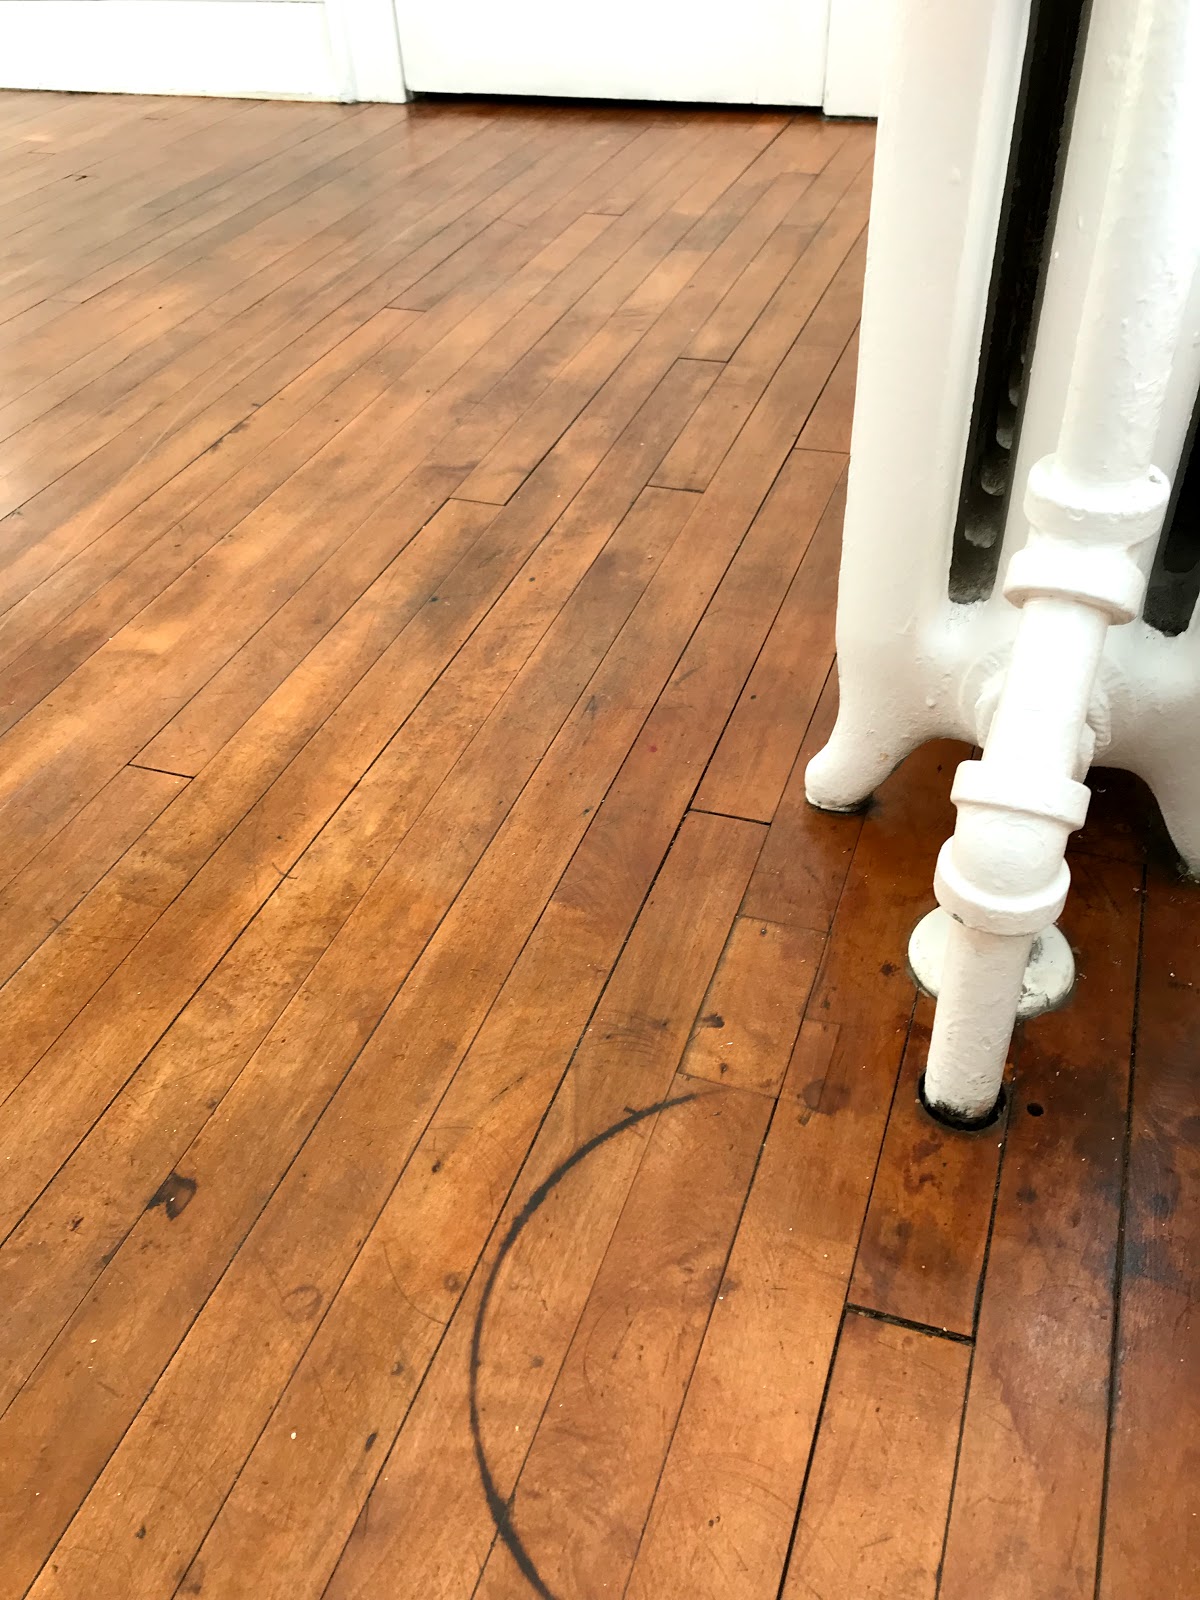
It is hard to portray how large and bright this room is. Even on a cloudy day it is bright! Those big picture windows is my favorite feature! And the window seat looking things under each window? Those are radiator covers. They do make great window seats though! The warmest seat in the house during winter!

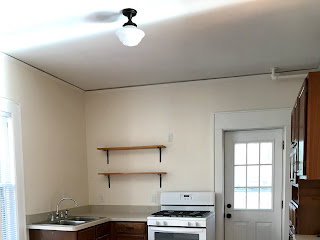
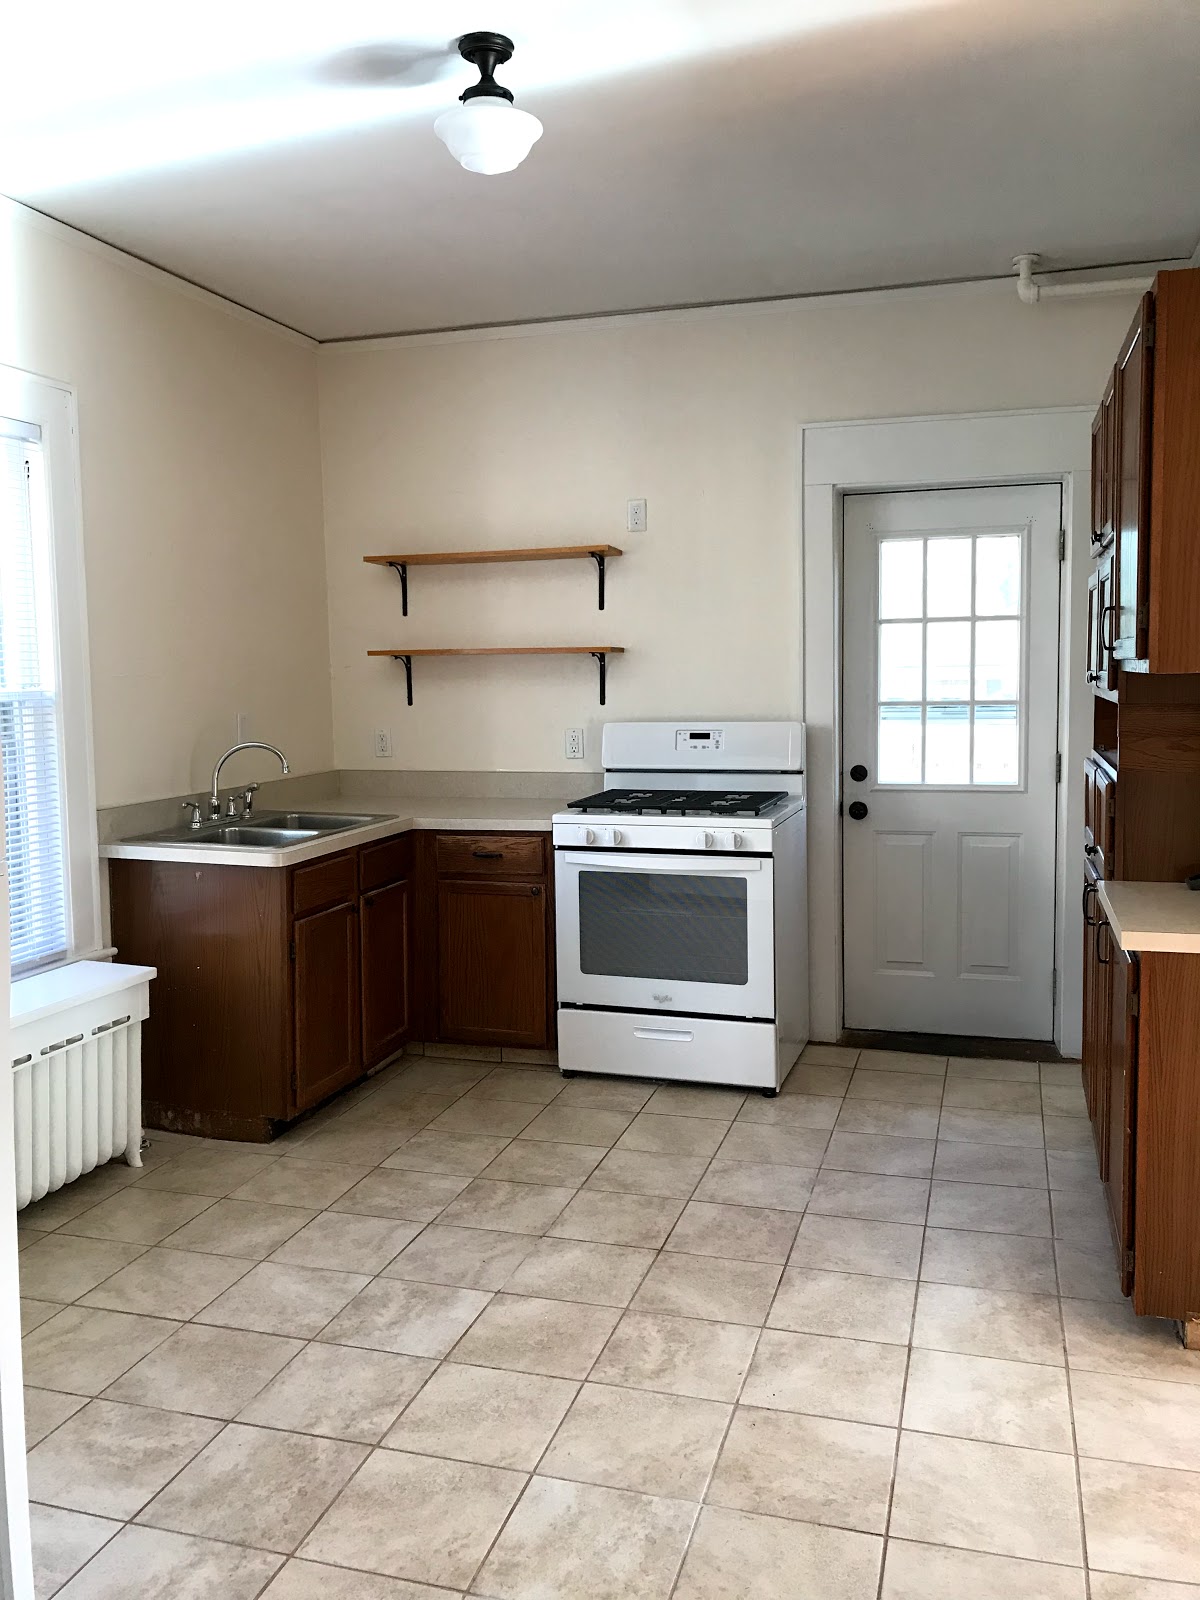
 From the kitchen doorway looking toward the living room.
The living/dining room needed the lest amount of work. All last summer it was the "store" room for tools and materials. We primed and painted the walls and ceiling; and washed and shellacked the floors. Other then washing the windows that was it!


 The entry needed a little bit more love. Besides needing to remove icky carpet, we also had to get two spots of cat pee to get out. (Our tried and true recipe is Time, Bleach and Nature's Miracle Stain remover. We had spray bottles of bleach and Nature's Miracle in the hall for weeks! Every time arrived and left we would spray the spots down with either bleach of Nature's Miracle. We tried to alternate. After four months there was only a faint whiff left when you got close! And the shellac took care of that.)  And then there was the stairs to deal with..... Read about the Stairs here.

 I know that light fixture isn't original, but it lends a nice touch of elegance to the hall!

Thanks for coming along on this journey with me! As with any journey there is mountains and valleys, but it has been fun! I hope you enjoyed it too! 


16 Mayıs 2019 Perşembe

Brick House: Kitchen Before & After

Brick House: Kitchen Before & After

Are you ready for a dramatic change? Even though I didn't change the layout; changing the wall color, countertops and appliances made a real difference! 

 I had almost forgot I took the upper cabinets down.... From the first the didn't look right to me.

 Oh that orange! Yikes!

I traded this fridge with my brother for a stove! It was just too big for the kitchen!


 I'm not a fan of the no-cabinet-hardware look. Doesn't look finished to me! So I added simple handles and knobs.


Mandy and I took some of the cabinets that we took down and added them here. I think it looks a little like an old fashioned wall of cabinets! I wasn't sure how the space of baskets would turn out and no one else seemed to understand what I was trying to do, but when I finished they agreed it wasn't  bad!


There are still a few small things that need to be done. But I have found a lovely family to rent and they will be moving in the end of the month!! They are so excited about the big yard and all the flowerbeds. I am so excited and yet at the same time sad.... Even though the Brick House is still mine, I didn't think it would be this hard to turn the house over to someone else..... I have loved refreshing it and bring it back to life!
Now it is time to get back to my cottage and work on a few projects there!

3 Mayıs 2019 Cuma

Brick House: Bathroom Before & After

Brick House: Bathroom Before & After


BEFORE

BEFORE

BEFORE

A big improvement, wouldn't you say?!
A lot of things needed to be refreshed; the paneling removed from the walls, the space eating vanity removed, the sad flooring and dim light. We also installed a baseboard and door trim, curtain rod, toilet paper holder and hooks for towels. Plus all new plumbing!
BEFORE
This is one of the only before pictures I have with the carpeting. Couldn't wait to get it out of there! 

Looking down the hallway toward the back bedroom. Plenty of lovely wood floors!


 I love how the sun comes in through this window on the stairs. It faces west and gets the most beautiful evening sunshine!


As soon as I tidy up the kitchen and remove the last of the tools, I will be back with more before & after pictures!

1 Mayıs 2019 Çarşamba

Brick House Update: the Basement and Limewash

Brick House Update: the Basement and Limewash


We had a little excitement a couple of weeks ago as suddenly one night after heavy rain the neighbors tree leaned over. When I was working on the house the night before the tree was fine, next morning it looked like this. From the looks of it the poor tree had rotten roots, so once the ground thawed there wasn't anything holding it up anymore. Thankfully, it very gently sagged it way to the ground and the neighbor was able to chop it up before it came down with a crash and damage the Brick House tree (Which it was leaning on!).

 The last two weeks have been concentrated on the basement. Not very glamorous. Basements and attics are not my favorite spaces. Too dark and too many possibilities of creepy crawly jumping out at you. 
But since the laundry area at the Brick House is in the basement, I have been trying hard to make it less dark and creepy.

 So I decided to give Limewash a try! Limewash is also called whitewash, but whitewash can be confused as painting any surface with a thin white coat of any type paint. Where as Limewash is good old fashioned Whitewash made using hydrated lime. 

 It really isn't as scary as it sounds. The basic recipe I found online several places. I ended up using more lime then usually called for. It made it "stick" better and I wanted a nice thick white coat. Limewash has been used for centuries as a inexpensive coating on houses, masonry, barns, outbuilding and outhouses. It is a very breathable coating, naturally anti-fungal because of it's high alkaline level and a bug deterrent.
Sounds perfect for a basement, right? 

I mixed two gallon batches at a time. Using a one quart canning jar to measure I used two gallons of water, one quart pickling salt and 8 quarts lime. This makes a very thin mixture that is slightly thicker than water. But when it goes on brick (at lest my thirsty bricks) it thickens up and sticks. When I painted it on wood, it looked thinner for longer.

Before Limewashing
Here are a couple of before photos. The walls weren't too bad. But they certainly could use a freshening up!

Before Limewashing
Definitely helps brightens the place up!

We have also been working on the basement steps. They needed a railing. But when we went to add a railing we discovered the bottom step was rotten and wouldn't hold the post and bolts. So we also replaced the step. In the photo above I was in the middle of painting, hence the half white post!

I have also been working on the basement stairwell walls. When we took the plaster ceiling down, an inch or two of the walls also came down. We had to take a small part of the new drywall down to run a wire for a the outside light. The larger spot to the right was where the old switch was. I patch lath back in and ran the wire over the ceiling to the other switch there. Now both switches are together and it tidier. And now I was finally able to plaster the walls!

One side done!

This side drying. Next up; limewashing the plaster!

3 Nisan 2019 Çarşamba

Project Update: Not much left on the to-list! & Before and After

Project Update: Not much left on the to-list! & Before and After

I can't believe there are less than ten items on the to-do list!! The end is in sight! Anyway, I thought it was time to share some before and after pictures. The upstairs bedrooms and bath are completely done, so we will start there!

I don't have a whole lot of before pictures of the back bedroom (a.k.a. the purple bedroom.) And honestly it wasn't that scary to begin with. It just needed a lot of paint!


No more purple walls and no more weird glue on the floor!


This picture captures the room the best. The door to the right opens onto a very small balcony. It is not my favorite. I think originally there was a window there and they must of put the door in when there was an enclosed porch below. Now there is just a deck.


I love these hooks! There are in all the closets and are original. Simple and perfect.

This is the front bedroom before. No closet doors and the floors were pretty rough. Aren't you glad I got rid of those yellowing switch and outlet covers?


I had almost forgotten about the awnings! So much brighter without them!


 So much brighter! And the floor came out quite good, considering all the gauges in them. This room has two closets, one on either side.


 This closet is quite deep, a good amount of storage here!

This is the other closet, a cute little square! But still a nice size.


And last is the middle bedroom. Another awning taken down, more glue under the carpet and a closet door restored to it's right place.


The middle bedroom has the largest closet, it is practically a mini bedroom!


I will be back later with more before and after photos! Now to go get those last to-do list things done!