Today I have a tutorial for a Leaf Wreath! Thanks to sister Mandy, I also have step by step photos. (I always forget to take those...) Last week at work I was suddenly struck with a fit of fall craftiness and decided I needed make my own leaf wreath. I don't like letting all of Mother Nature's beauty go to waste!
So on our Sunday morning walk with the Kerri dog we collected a huge stack of leaves! I had a couple of ideas on how to make the wreath, but ended up using my favorite styrofoam wreath wrapped in burlap ribbon. I wanted to really showcase all the leaves and I think it does!
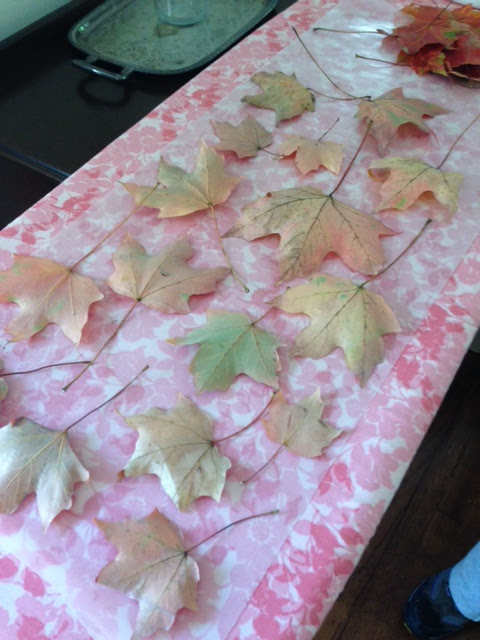
The first step was to wax our leaves to help them last a bit longer without drying out and shriveling up. (I don't know how long it will actually make the leaves last, but I am hoping a couple of weeks.) We dried off any leaves that were dewy and laid them out on the table.
Then we warmed up the iron, cut a piece of wax paper that fit nicely on the ironing board and arranged a bunch of the leaves on it. Make sure none of the leaves overlap, though we didn't worry about stems. It seemed to work better to lay the leaves face down on the waxed paper, preventing them from curling up when go to lay the top of wax paper on top.
Place another piece of waxed paper on top of the leaves and iron. I had the iron on it's hottest setting and no steam. I didn't press hard or linger in any one place too long. Just like ironing fabric, smooth the wax paper across the leaves. You will see the paper melt together and on to the leaves.
Repeat these steps until you have all your leaves in wax paper. We had about 6 sheets of leaves. Once you are done, let them cool a few minutes while you gather the rest of your supplies.
You could do pretty much anything with your waxed leaves. Add them to a tabletop, clip them to twine for a garland or make a wreath!
You could do pretty much anything with your waxed leaves. Add them to a tabletop, clip them to twine for a garland or make a wreath!
I used regular sewing thread to wrap the leaves onto the wreath, thin wire would also work well. Knotting your thread at the starting point, wrap the thread around the back of the wreath, lay three or four leaves on the top and wrap the thread over the top of the wreath pulling snugly.
Continue placing leaves and wrapping the thread around the wreath being careful to keep the thread snug. This is the part where it is handy to have a second set of hands! Mandy would select a couple of leaves and lightly hold them in place while I wrapped the thread.
Keep on placing leaves and wrapping thread until you have covered your wreath. Somehow we came exactly perfect! We used the last of the leaves in the last wrap of thread! To secure the end of the thread, I pushed a straight pin into the wreath form, wrapped the thread several times around it and them knotted it around the pin. Once it was knotted, I then carefully pulled out the pin, moved it over a quarter of an inch to tighten it. And that is it!
Love all those fall colors! The leaves have already started curling a little bit, but it is still beautiful.


